Would you like to transfer or synchronize data?
You can try FREE APPLICATION from online stores:


PhoneCopy.com makes it simple to back up your contacts from Nokia 301 to the cloud. In this guide, we will walk you through the entire process step by step.
This guideline also works for similar devices like Nokia 207, Nokia 208, Nokia 515, Nokia 515 Dual SIM, Nokia Asha 300, Nokia C3-01, Nokia X3-02.
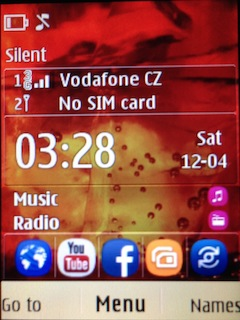
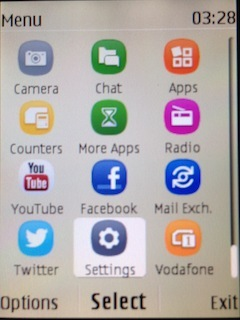
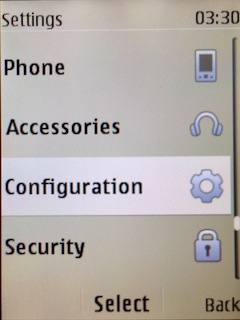
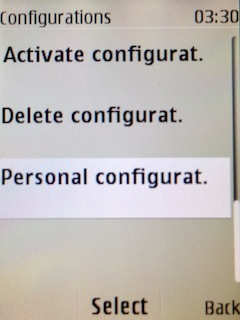
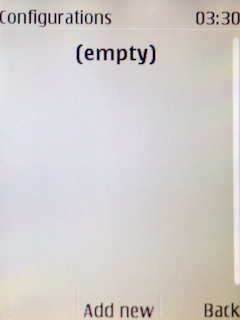
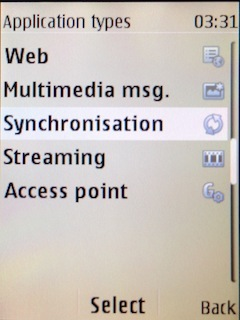
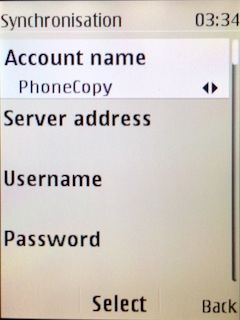
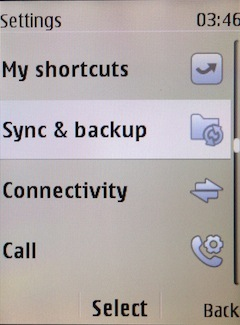
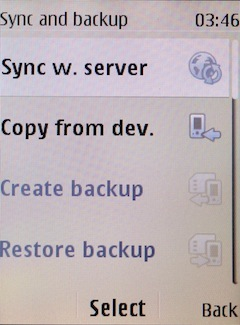
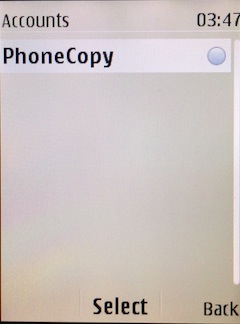
To have your contacts saved you have to synchronize the Nokia with PhoneCopy. For better illustration, we've made some screenshots. The first step is create of synchronization account.
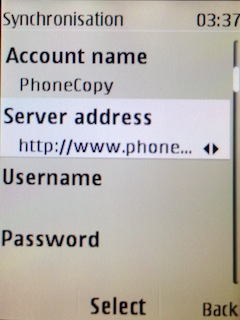
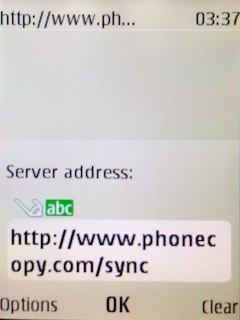
Fill in "Account name" (write PhoneCopy) and "Server address" (http://www.phonecopy.com/sync)
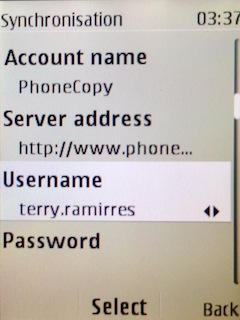
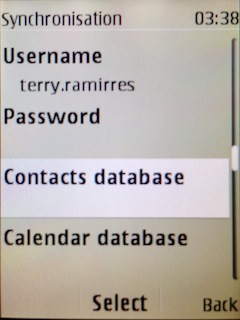
Now you need to fill in your "Username" and "Password".

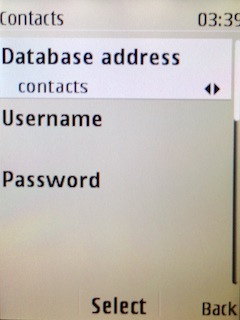
Select "Contacts database" and to "Database address" write contacts.
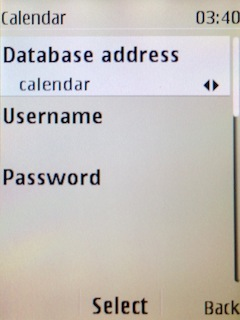
Select "Calendar database" and to "Database address" write calendar.
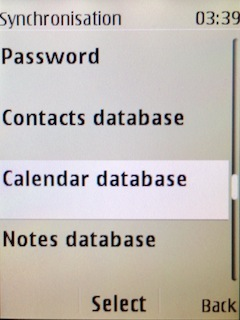
Select "Notes database" and to "Database address" write notes.
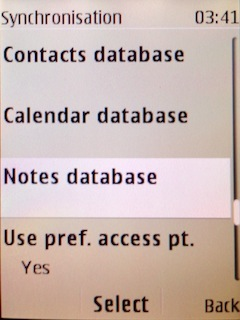

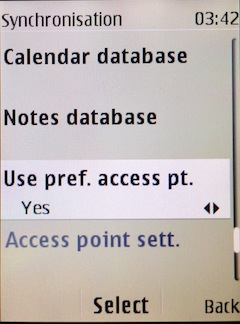
Choose, if you want to "Use pref. acces pt." and press 3x "Back".
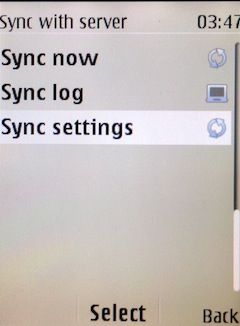
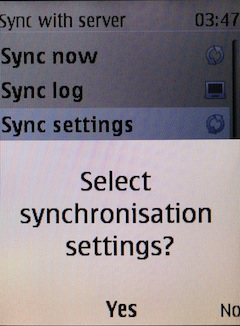
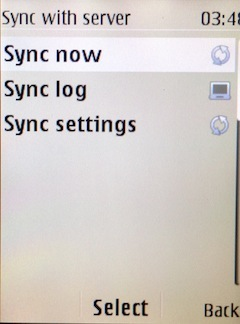
Now you need to select "Sync settings".
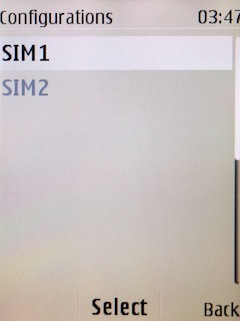
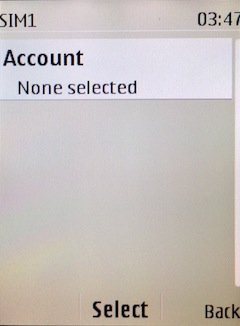
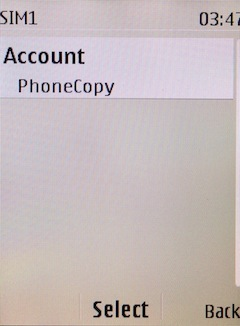
If you have Nokia 515 Dual sim, select "SIM" for synchronisation, choose "PhoneCopy" account and press 2x Back.
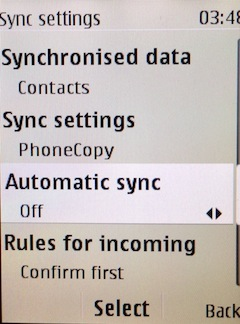
Select "Synchronised data", mark "Contacts" and press "Done".
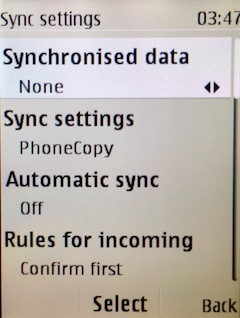

Choose, if you want to use "Automatic sync" and press "Back".
Now you can start synchronisation.
This guideline also works for similar devices like Aspera R40.
Well done — your contacts are now securely backed up in the cloud. Open your PhoneCopy account in any browser to review your data or make changes at any time.
Contacts can be then transferred to another device (eq. iPhone, Nokia, SonyEricsson, Samsung, LG etc). See PhoneCopy site for supported devices.